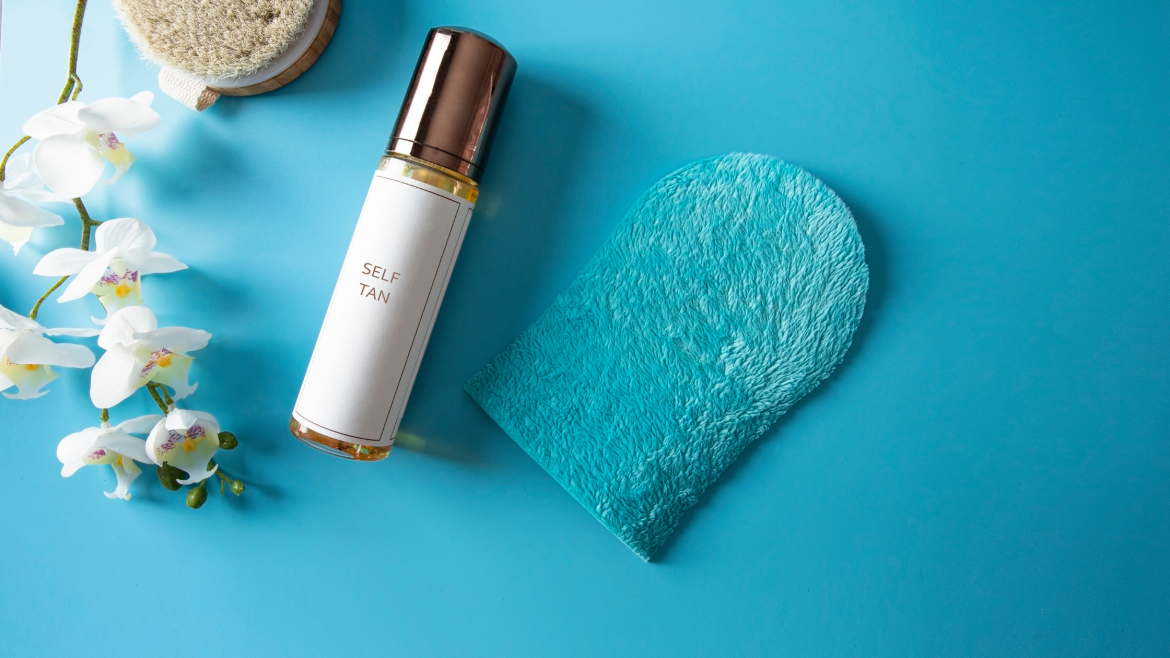
A flawless self-tan can leave you feeling confident and glowing, but achieving that sun-kissed look isn’t always as easy as it seems. Take it from someone who’s added the task to her weekly Sunday reset routine. There are a ton of self-tanning mistakes you can make without even realising it.
Streaky application and patchy fading are some issues that sabotage your results. Whether you’re a self-tanning pro or a complete beginner, avoiding these 7 errors will help you get an even, natural-looking tan that lasts.
Canva
ALSO SEE: Why a Sunday reset is your mental health’s bestie
1. Skipping exfoliation
One of the biggest self-tanning mistakes is applying your tan to dry, flaky skin. Skipping exfoliation leads to an uneven application, with the tan clinging to dry patches and creating a blotchy effect. Before applying self-tanner, use a gentle body scrub or an exfoliating mitt to remove dead skin cells. Pay extra attention to rough areas like elbows, knees, and ankles, as these tend to absorb more product and can look darker than the rest of your body.
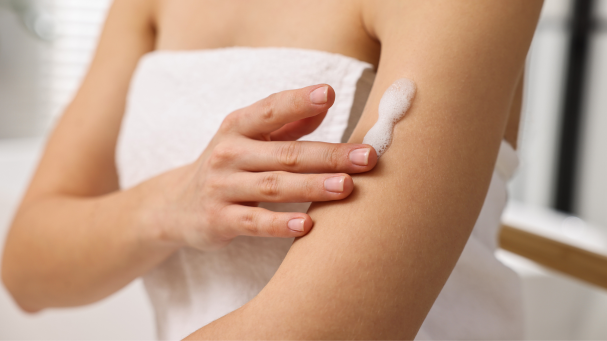
2. Applying the product to wet or oily skin
Moisturising is essential for a smooth tan, but applying self-tanner directly after showering or on oily skin can cause streaks. Always ensure your skin is completely dry before tanning, and if you need to apply lotion, only use a light, oil-free moisturiser on dry areas to prevent overdevelopment.
3. Using too much product on hands and feet
Hands and feet are the trickiest areas to tan, and applying too much product can result in an unnatural orange or muddy look. The key is to use a minimal amount—try blending the leftover product from your mitt rather than applying it directly. Lightly buffing with a damp cloth or blending brush after application can also help create a softer, more natural transition.
4. Not blending properly
Harsh lines and uneven patches are a clear sign of a rushed self-tan. Always use a tanning mitt for application, blending in circular motions to ensure even coverage. Work quickly before the product dries if you’re using a mousse or lotion. For tricky areas like wrists and ankles, use a buffing brush to smooth out any harsh edges.
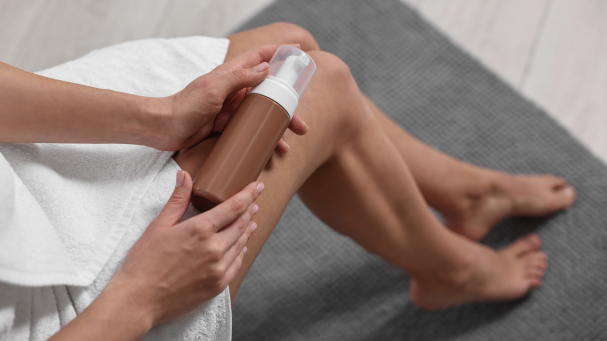
Canva
5. Ignoring your face
Your face should match your body, but applying the same amount of tanner as you do to your legs or arms can lead to an overdeveloped, unnatural result. Use a facial tanning mist or mix a small amount of self-tanner with your moisturiser for a more subtle effect. Don’t forget to blend into your hairline and jawline to avoid harsh lines.
6. Getting dressed too soon
Throwing on clothes immediately after applying self-tanner is a recipe for streaks and transfer. Always wait until your tan is completely dry before getting dressed, and opt for loose, dark clothing to avoid staining. Apply self-tanner in the evening and allow it to develop overnight.
7. Neglecting maintenance
A great self-tan doesn’t stop at application—it requires maintenance to keep it looking fresh. Hydrating daily with a lightweight, oil-free moisturiser helps prolong your tan and prevents it from fading unevenly. When it’s time to remove your tan, avoid scrubbing aggressively and instead use a gentle exfoliator or tan remover to ensure an even fade.
By avoiding these self-tanning mistakes, you can achieve a natural, long-lasting glow without the hassle of streaks, patches, or orange hands. With the proper prep, application, and aftercare, your tan will always look seamless and sun-kissed.
ALSO SEE:
Featured Image: Canva