If you’ve ever wanted to recreate a favourite fashion piece, redesign a garment to fit your body more comfortably, or design your own clothes – drafting your own sewing patterns is an easy first step.
We’ll cover the basics of pattern drafting and share some practical tips for copying existing clothing—you don’t need to be an expert to draw up your own sewing patterns, so don’t feel daunted!
ALSO SEE: The ultimate guide to maternity clothing
What you’ll need to draw up your own sewing patterns
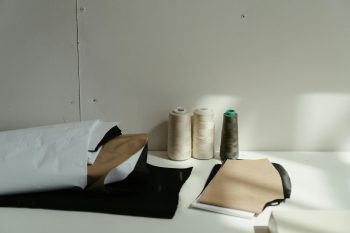
Before we can get started, you’ll need to assemble these basic supplies to draw your own sewing patterns:
- Pattern paper (tracing paper, butcher paper, or large sheets of newsprint)
- Flexible measuring tape for accurate body measurements
- A sharp pencil and eraser for sketching and adjustment
- Rulers, including a straight ruler and a French curve for shaping armholes and necklines
- Fabric scissors (reserve these solely for cutting fabric to keep them sharp)
- Muslin or inexpensive fabric for creating test garments
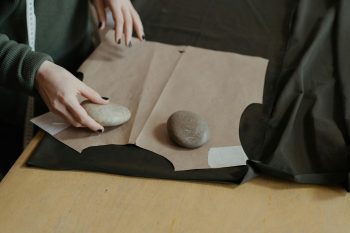
- Pattern weights or household objects (like canned goods) to hold paper in place

Pexels
1. Take measurements
A well-fitting pattern starts with accurate measurements. Wear close-fitting clothing or undergarments, and measure:
- Bust, waist, and hips (for most garments).
- Shoulder width, armhole depth, and torso length (for tops and dresses).
- Inseam and outseam (for pants and skirts).
For the best results, ask a friend to help you —measuring your own back or shoulders can lead to…errors.
2. Draw a basic template (a sloper)
A sloper is a simple template of your body, serving as the foundation for future designs. For a bodice, draw a rectangle using your bust and waist measurements. For a skirt, outline a curved waistband that matches your waist and hips.
3. Refine the details
Use a French curve to shape armholes, necklines, and hems. Mark darts (triangular folds that add shape) at the bust, waist, or back as needed.
4. Add seam allowances
Most patterns require a 1 cm seam allowance. Outline this around your sloper, then label each piece with grainlines and notches for alignment.
5. Test with muslin
Assemble your sloper in muslin to check the fit. Adjust the paper pattern based on any gaps, tightness, or awkward seams.

Pexels
How to copy a garment’s pattern
Love a piece you already own? Follow these steps to replicate it:
1. First, turn the garment inside out and press it flat to eliminate wrinkles. Lay it on a smooth surface.
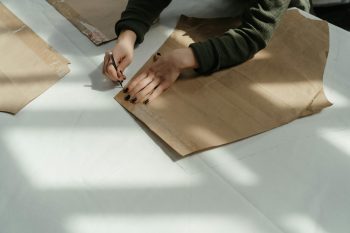
2. Then, place pattern paper over one section (e.g., the front bodice). Use weights to secure it, then trace the seams, darts, and hems with a pencil. Repeat for all pieces (back, sleeves, etc.).
3. Just like the previous steps for drawing up your own pattern, nost garments use 1 cm seams. Add this margin around your traced lines.
4. Cut the pattern from muslin, sew it together, and compare it to the original. Adjust the paper template to fix any discrepancies in fit or shape.

Pexels
Key tips for drawing up your own sewing patterns
- Use a tracing wheel to transfer textured or intricate details.
- For stretch fabrics, stabilise the garment by pinning it to a corkboard before tracing.
- Label each pattern piece clearly (e.g., “Left Front Bodice”) to avoid confusion during assembly.
- Master basics like skirts or shift dresses before advancing to tailored blazers.
- Document measurements, adjustments, and fabric choices for future projects.
ALSO SEE:
5 Fabrics to avoid if you have sensitive skin (and what to wear instead)
Feature Image: Pexels

