In the vast world of art, various techniques and mediums have emerged, some of them simpler than others. Acrylic paint pouring is one such medium we’ve come to love! This creative yet expressive technique has gained immense popularity, and it’s actually pretty simple!
Here’s how to make your own keepsake acrylic pouring art piece:

But first, what is acrylic paint pouring?
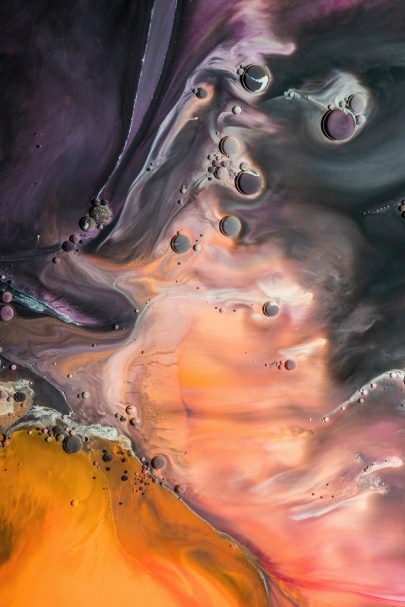
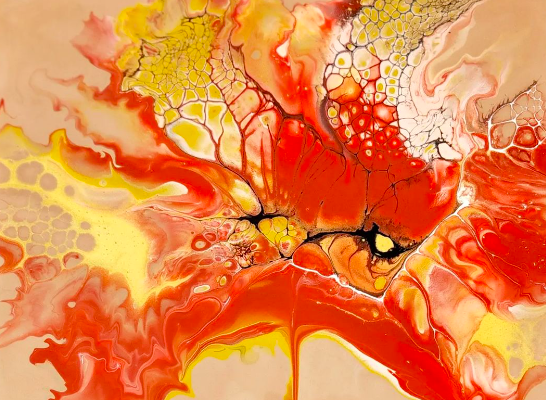
Acrylic paint pouring, also known as fluid art or acrylic pouring, is an abstract painting technique that involves manipulating acrylic paints to create unique and stunning compositions.
Unlike traditional methods that rely on brushes and precision, paint pouring embraces the spontaneity and unpredictability of fluid motion. Artists use a combination of pouring, tilting and even blowing with a hair dryer (on the cool setting) to manipulating and allow the paint colours on the canvas to flow and interject each other to create a mesmerising patterns and striking blends.
The materials you’ll need
Before embarking on an acrylic paint pouring adventure, gather the essential materials:
- Acrylic paints: Choose a variety of colours to achieve a vibrant piece.
- Pouring medium: This is essential to increase the flowability of the paint without compromising its colour or consistency.
- Canvas: Opt for a sturdy and flat surface like a canvas or wooden panel to ensure the paint spreads smoothly.
- Cups and stirrers: To mix the paint and pouring medium thoroughly.
- Drop cloth: Cover your workspace to protect it from spills and splatters.
- Gloves: Keep your hands clean and protect your skin from paint and chemicals.
- Palette knife or spatula: For tilting and manipulating the paint on the canvas.
- A hair dryer or blowing tool is optional.
View this post on Instagram
ALSO SEE: Rumour has it: are the Spice Girls re-uniting for a 30-year anniversary tour?
How to make acrylic pouring art
Gather your materials, it’s time to get creative!
Prep:
Set up your workspace by laying down the drop cloth and placing your canvas on a level surface. Ensure that your paints are well-mixed and free of any clumps.
Creating the pouring mixture:
In a separate cup, combine acrylic paint and pouring medium in a ratio specified by the pouring medium manufacturer. Typically, a 1:1 ratio is a good starting point. Stir the mixture slowly until it reaches a smooth and consistent texture.
Layering the colours:
With your pouring mixture ready, begin layering the colours in one cup or several separate cups, depending on your desired outcome. Each layer should be poured gently on top of the previous one, creating beautiful colour combinations.
The pour:
There are several pouring techniques you can try, such as the “Dirty Pour” (combining multiple colours in one cup and pouring it onto the canvas) or the “Flip Cup Pour” (placing the canvas on top of the cup and flipping it). Experiment with different methods to discover your preferred style.
Tilting and manipulating:
After the paint is on the canvas, gently tilt the surface in different directions to encourage the colours to flow and blend naturally. You can also use a palette knife or spatula to guide the paint across the canvas, creating intriguing patterns and effects.
Drying process:
Once you are satisfied with the composition, place the artwork on a level surface and let it dry for at least 24 hours. During this time, the paint will continue to shift and blend, adding depth to the final result.
View this post on Instagram
You can DIY the paint pouring process or attend a class with The Paint Pouring People.
Let the colours flow and embrace the beauty of this unpredictable medium!
ALSO SEE:
Featured Image: Instagram / @thepaintpouringpeople

