Looking to lighten up your space? Candles are one of those precious decor pieces that never go out of style. They bring warmth, light, ambiance, and that ultimate zen feeling to your home. If you’re a candle collector, you’ve probably got a cupboard or shelf filled with your favourites.
There are so many cute ones on the market, we’ve developed a slight candle-shopping addiction…
However, there’s something different and special about crafting your own candles. DIY candle-making is not only a creative and therapeutic endeavour but also allows you to customise your creations to suit your preferences.
Here’s how to make your own candles!
Getty
Gather your materials:
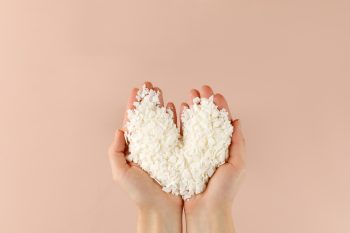
Wax: Choose from paraffin wax, soy wax, beeswax, or a blend depending on your preference.
Candle wicks: These come in various thicknesses and lengths. Ensure they are appropriate for the size of your candles.
Containers: Glass jars, tins, or moulds in different shapes and sizes.
Double boiler or a heat-resistant container: For melting the wax.
Thermometer: To monitor the wax temperature accurately.
Fragrance oils or essential oils: Optional for scented candles.
Dyes or colour blocks: If you wish to add colour to your candles.
Wick stickers or glue dots: To secure the wick to the container.
Wick holders or clothespins: To keep the wick centered while the wax cools.
Stirring utensils: Heat-resistant spoons or wooden sticks.
Scale: For precise measurements.
Protective gear: Heat-resistant gloves, goggles, and an apron.
Getty
Prepping your work space
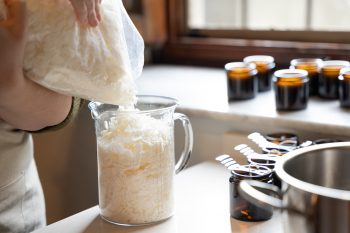
Candle-making can be a messy process, so it’s essential to set up a clean and organised workspace. Cover your surface with newspapers or a plastic sheet to catch any spills. Ensure good ventilation in the room and keep flammable objects away from the heat source.
Melting the wax
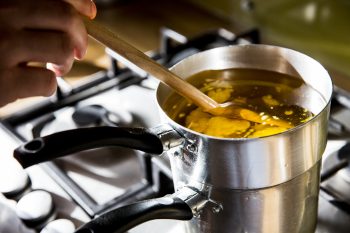
BEGIN by melting the wax in a double boiler or a heat-resistant container placed inside a pot of boiling water. Avoid direct heat as it can be a fire hazard.
MONITOR the wax temperature using a thermometer. Different waxes have different melting points, so refer to the manufacturer’s instructions for precise temperatures.
STIR the wax gently and occasionally while it melts to ensure even heating.
Getty
Adding fragrance and colour
ADD fragrance oils or essential oils once wax has melted to infuse your candles with a delightful scent. Use about 30ml of fragrance oil per pound of wax, or adjust according to your preference.
ADD a small amount of dye or a colour block to the melted wax if you’re looking for colour. Stir well to distribute the colour evenly.
Prepping the containers and wicks
LET WAX COOL and prepare your containers by attaching wicks to the bottom using wick stickers or glue dots. Ensure the wicks are centered.
KEEP WICK STRAIGHT and centered as the wax solidifies. To do so, use a wick holder or place a clothespin or chopstick across the top of the container to loop your wick around.
Getty
Pouring the wax
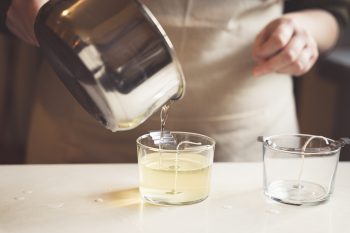
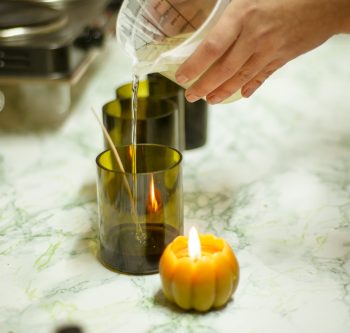
POUR MELTED WAX into the prepared containers, ensuring you leave some space at the top.
KEEP AN EYE on the wick, making sure it remains centered during the pouring process.
Allow the candles to set
LET CANDLES COOL and solidify completely. This process may take a few hours, so be patient.
TRIM WICKS to about ¼ inch above the wax surface once they have hardened.
ENJOY your homemade candles!
Getty
Shop your own candle making kit
Here are some essential goodies you’ll need for your starter candle-making kit:
Takealot candle-making kit for R779:
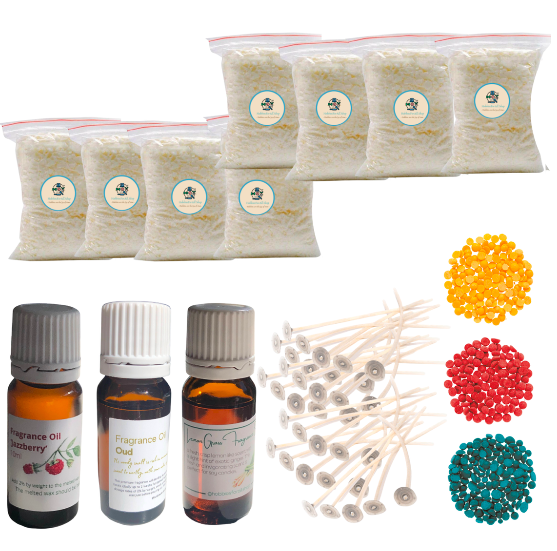
Candle Making Kit
Takealot silicone mould set for R398:
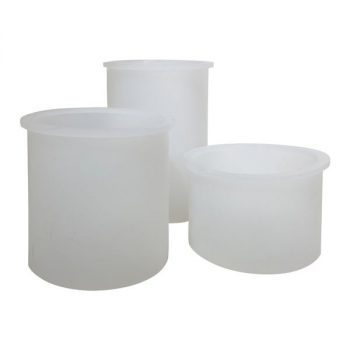
Silicone Mould Set
Takealot candle mould set for R450:
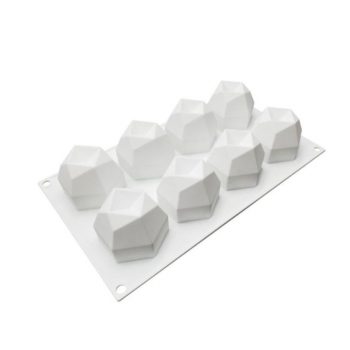
Takealot bubble silicone mould for R445:
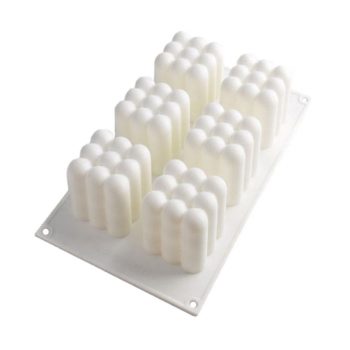
Silicone Mould
Happy candle-making!
ALSO SEE:
Featured Image: Getty

