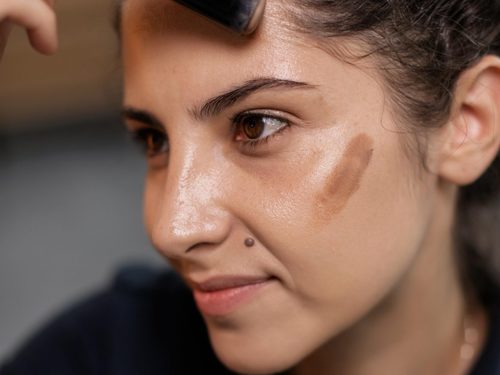
Makeup trends come and go faster than you can say the word ‘contour’, but the underpainting technique might just be here to stay! This viral application technique has beauty enthusiasts buzzing for the natural finish it achieves…
What is underpainting?
The underpainting technique is a subtle skin-sculpting hack that enhances your makeup routine by helping you achieve an evenly blended, flawless complexion. Plus, it’s easy to achieve, even the beginner can pull it off!
When it comes to applying cosmetic products for your complexion, generally you’d apply your foundation first, then you’d go in with your creams for contouring, highlighting and concealing.
With underpainting, you’ll apply your creams before going in with a foundation, then blending for a flawless result without any harsh contour lines.
We love this trend for those who may be a little afraid of contouring.
@victorialyn @jlo Light Bulb Contouring Technique!💡#Underpainting always gives the most glowy finish!! #makeup #beauty #contour ♬ Chill Vibes – Tollan Kim
ALSO SEE: Why you should be using peptide-enriched skincare
Master the art of underpainting
Here’s how to perfect the underpainting technique:
Prep your skin
Start with a clean, moisturised face. Ensure that your skin is well-prepped before applying makeup.
Colour correct
This step is optional, and should be done only if needed.
Identify the specific complexion issues you want to address, such as redness, dark circles, or blemishes. Then, select your colour-correcting concealer or colour correctors that will counteract those imperfections.
Green concealer neutralises redness, while peach or orange concealer conceals dark circles.
Underpainting
Going in with your cream contour first, apply to contour the base of your forehead, by the hairline. Then apply to your jawline and cheekbone. Then, to highlight and conceal, go in with a concealer and highlighter under the eye. Finish with a cream blush to the cheek.
ALSO SEE: How to do the ‘natural’ makeup look
Blend, blend, blend
This technique is really simple but does require some blending to ensure you’re getting that perfect finish. The key to achieving a ‘natural look’ is to blend all products until they have seamlessly combined.
The amazing thing about underpainting is that less foundation is needed, as the contour and highlighter that you have applied pre-foundation will add extra coverage. You can blend your cream products first before applying foundation, or you can apply foundation directly after contouring, highlighting and concealing. Then blend, blend, blend!
The result should give you a fresh, naturally sculpted look.
Powder hour
To lock in your makeup and prevent creasing or smudging, set your face with a translucent setting powder under the eyes, and brush over the areas you applied cream products to – hairline, jawline, cheekbones.
Complete your look
Finish off your makeup routine with your go-to’s – eyeshadow, mascara, and lipstick. Don’t forget to set your makeup with a setting spray for added longevity!
View this post on Instagram
ALSO SEE:
Natural beauty hacks you need to try for a healthy spring glow
Feature Image: Pexels

