Whether you’re preparing for a vacation, a special event, or just want a bronzed look year-round, self-tanners can give you that fresh-from-the-beach glow without the sun damage. With the different forms and techniques of self-tanners, here’s how to apply them for a flawless, streak-free tan.
Why self-tanning?
Excessive sun exposure can lead to premature ageing and sunburn, resulting in damage to your skin. That’s why many people are opting for self-tanning products as a safer alternative. With advances in formulas, self-tanners now provide a natural-looking glow without the unwanted orange tones that plagued older versions.
ALSO SEE: 10 hacks to protect hair against ocean water and chlorine
Types of self-tanners
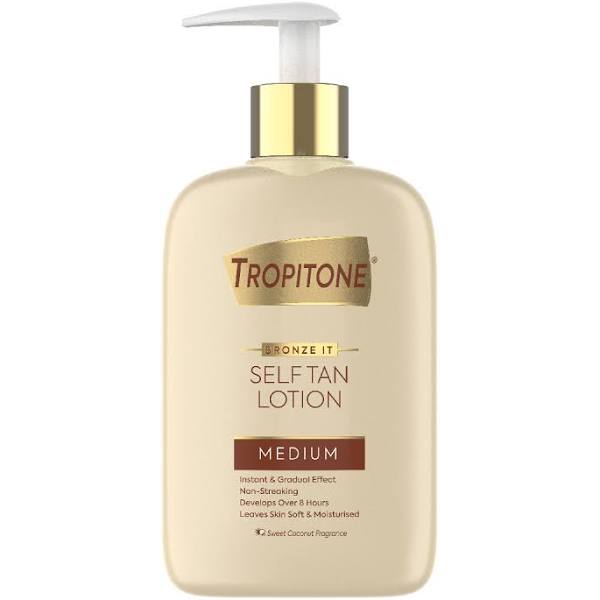
Lotions
Self-tanning lotions are one of the most popular options due to their ease of application and long-lasting results. They typically take longer to develop (around 4-6 hours), but they also offer the most hydration, which is especially great for dry skin.
Pro tip: Always exfoliate before applying the lotion to avoid streaks or uneven patches. You can use a tanning mitt for even application.

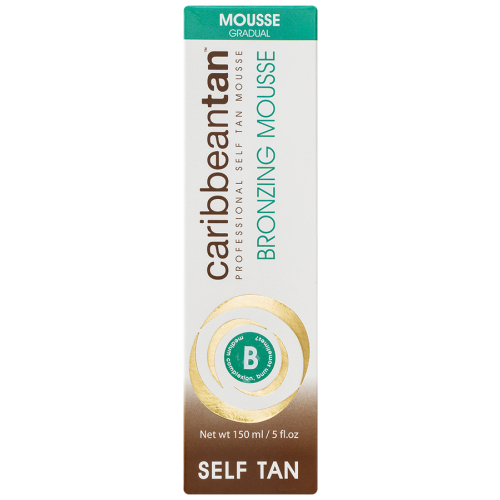
Mousses
Self-tanning mousse is lightweight and dries quickly, making it ideal for those who are on the go. The foam texture allows for smooth application, and because it dries fast, you can usually get dressed within minutes. Mousse formulas often provide a darker tan compared to lotions.
Pro tip: Apply in circular motions using a mitt for even coverage. Mousse tends to develop faster, so be mindful of the time before rinsing it off.

Spray tan
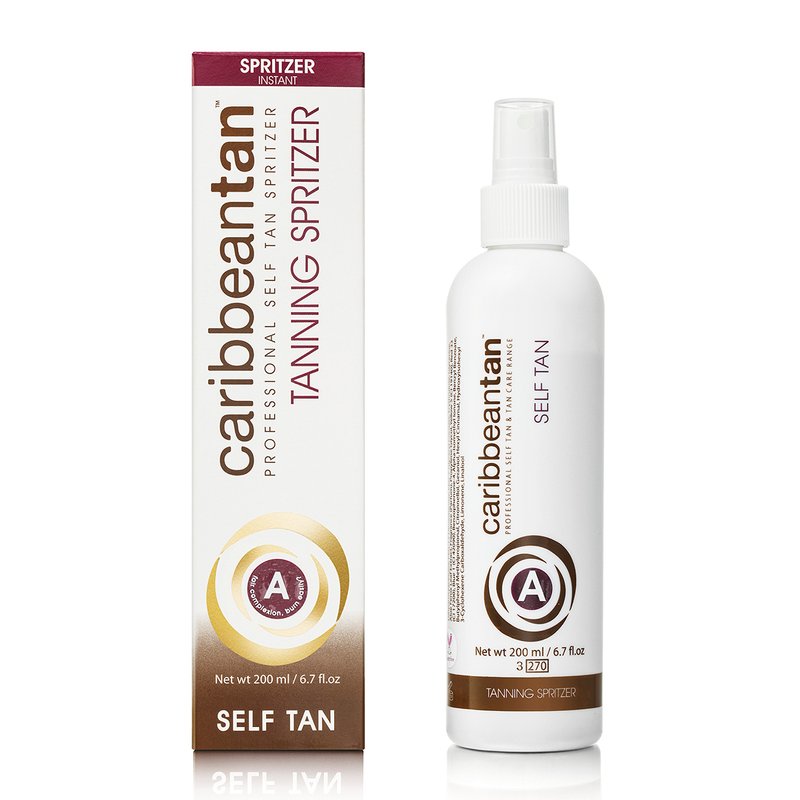
Spray tanners provide an airbrushed, streak-free finish, and they can be particularly useful for reaching hard-to-get areas like your back. Spray tans can be done professionally at a salon or with at-home products.
Pro tip: If you’re doing a spray tan at home, make sure to apply in a well-ventilated area. Hold the can about 6 inches from your skin and spray evenly. Avoid inhaling the mist and use a back applicator tool if needed.

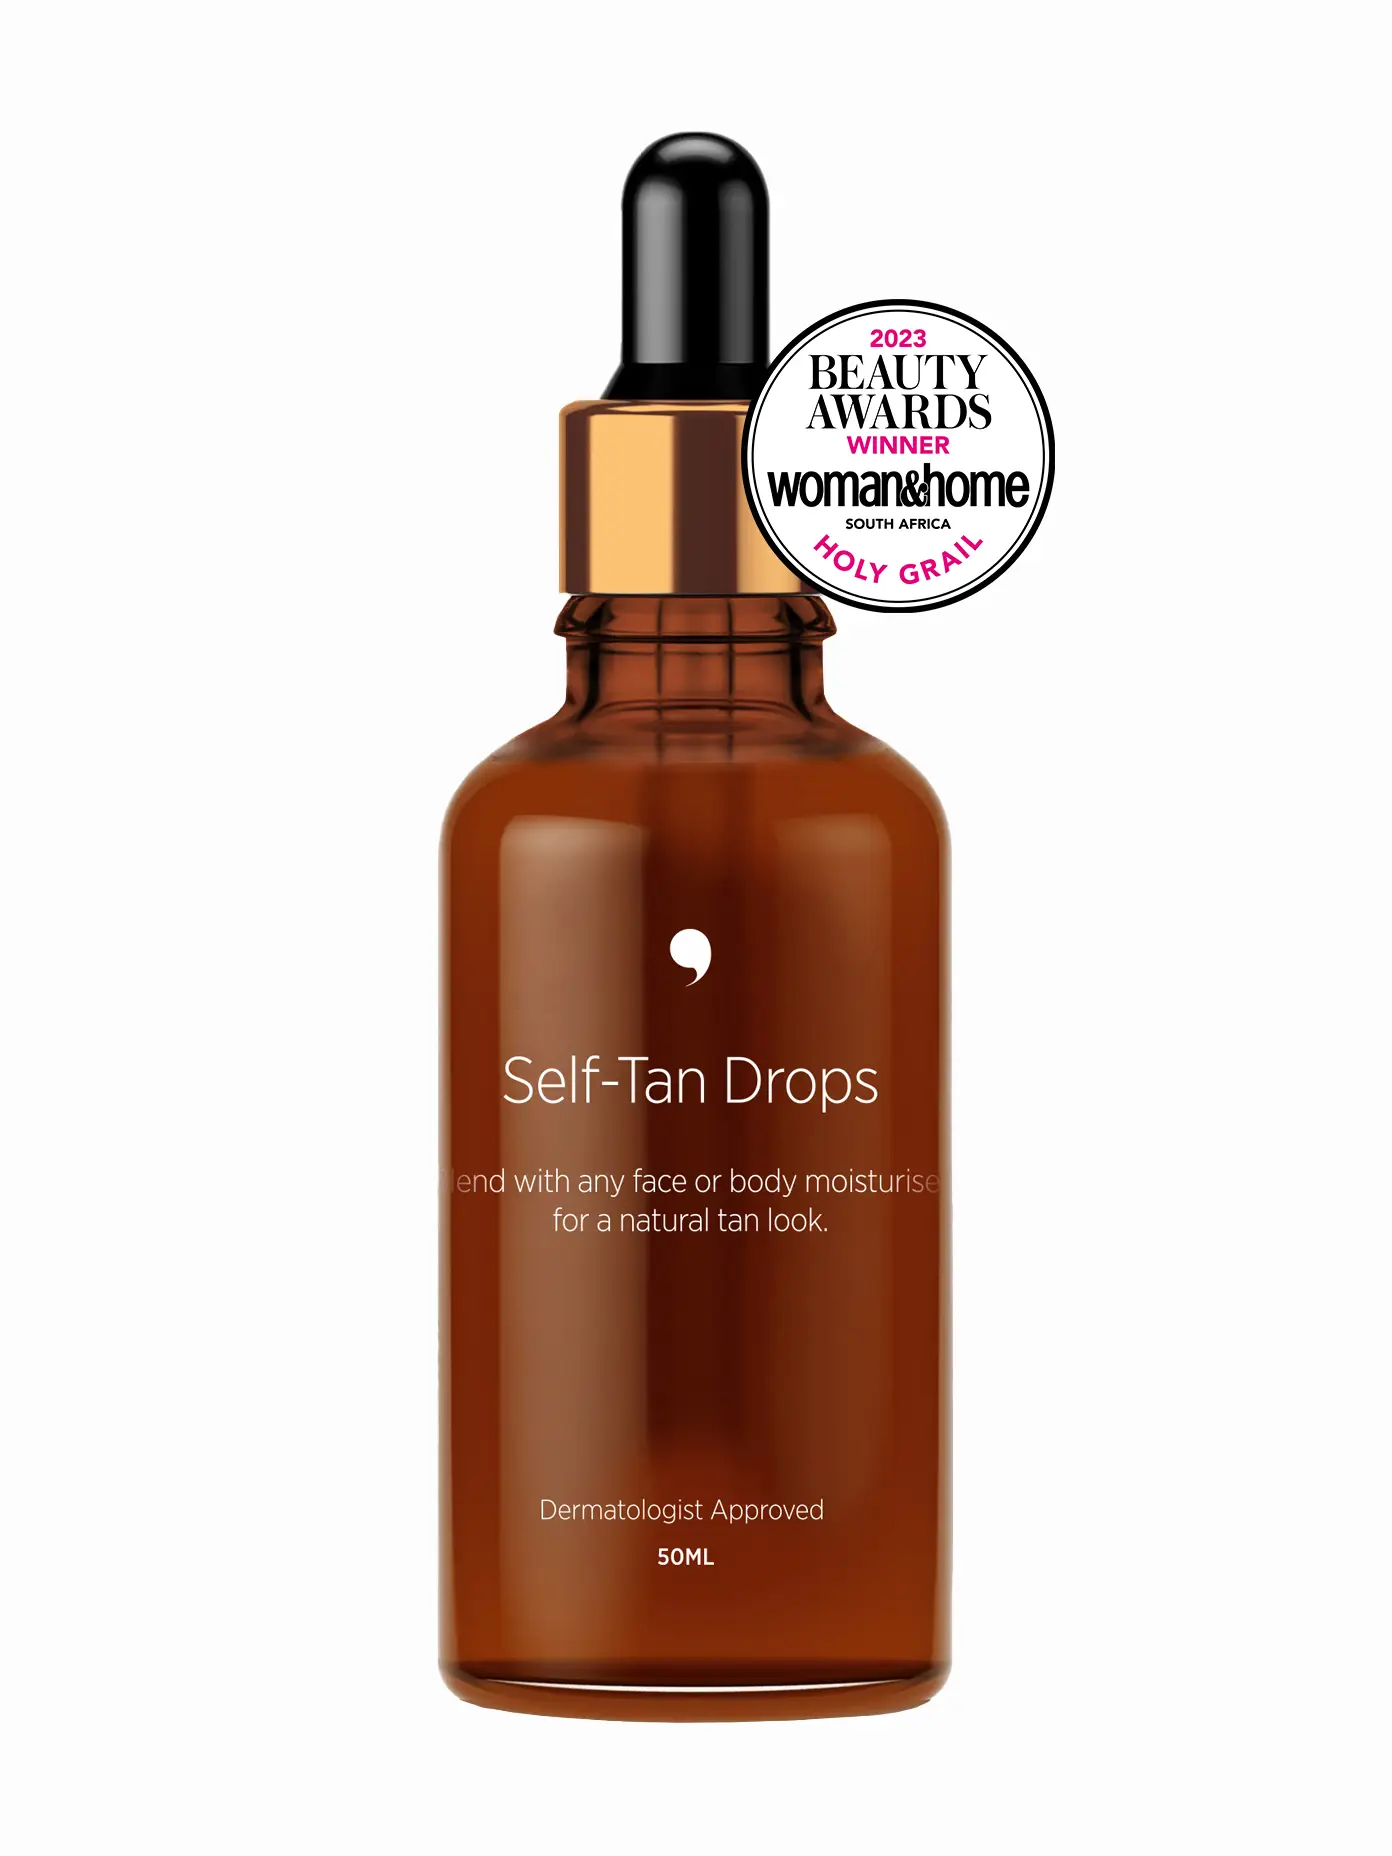
Tanning drops
Tanning drops are a more customisable option. You mix these concentrated drops with your favourite moisturiser or serum, allowing you to control the depth of your tan based on how many drops you use. This makes it easy to integrate self-tanning into your regular skincare routine.
Pro tip: Start with fewer drops and build up the colour gradually. Ensure the mixture is well-blended before applying to avoid streaks.

Techniques for a flawless tan
Regardless of the type of self-tanner you choose, the application process is crucial to achieving a natural, even tan. Here’s how to do it right:
Exfoliate
Before applying any self-tanner, exfoliate your skin to remove dead skin cells. This helps the tan absorb evenly and prevents streaking or patchiness. Focus on areas like elbows, knees, and ankles, where the skin tends to be rougher.
Moisturise
After exfoliating, lightly moisturise dry areas, such as your elbows, knees, ankles, and wrists. This will prevent these areas from soaking up too much product and becoming overly dark.
Use a tanning mitt
For an even application, use a tanning mitt. It helps spread the product more smoothly and prevents your hands from staining.
Apply in sections
Work in small sections—like arms, legs, and torso—applying the self-tanner in circular motions. This ensures that every part of your body is evenly coated.
Blend carefully
Pay special attention to areas where the product might collect, such as your knees, elbows, and ankles. Blend carefully to ensure even coverage.
Let it dry
Wait at least 10-15 minutes before getting dressed to allow the tanner to dry. Wearing loose, dark clothing afterward can help avoid transferring the product onto your clothes.
Shower and maintain
Once the tan has developed (typically after 4-8 hours), rinse off the guide colour in a lukewarm shower. To extend the life of your tan, keep your skin moisturised and avoid exfoliating.
Self-tanning can be a game-changer when it comes to achieving a sun-kissed glow without sun damage. Now you can enjoy a flawless glow year-round—without the sunburn!
ALSO SEE:
Featured Image: Pexels

