Want to save time and money by doing your own gel nails at home? There are a few good-quality, at-home gel nail kits you can purchase without stepping foot in a salon!
ALSO SEE: Your essential DIY manicure guide
We love at-home gel nail kits because they allow you to create a professional, long-lasting finish, and you can touch up your nails whenever you need to. Sure, you’ll invest in all the tools and products upfront, but having everything you need at home means you can achieve a salon-quality manicure for a fraction of the price, as the average salon gel mani costs between R350 – R400.
Where to buy gel nail polish?
When you purchase your gel nails kit, ensure it contains all the necessary items for a gel manicure, because mixing and matching different brands can affect how long your manicure will last.
Also, a gel manicure is a little more special than your average mani, so the kits contain specialised products you’ll need to create the perfect gel manicure at home. We like the Harmony Gelish Complete Starter Kit, R3299 from Naild.ink, because it contains everything you need to achieve gel nails at home, plus an on-the-go LED lamp and two gelish nail colours of your choice, so you can get started right away.

ALSO SEE: The full range of Harmony Gelish colours here.
Step-by-step guide to do gel nails at home
Step 1
Remove your old nail polish. Acetone-free removers aren’t as drying on nails. Try Cutex Nail Polish Remover, Acetone Free, R15,99.

Step 2
Prep your nails as you would for a normal manicure. Clip, file and buff them, then finish off by pushing back the cuticles and cleaning the nail bed. You want your nails to be as smooth as possible.
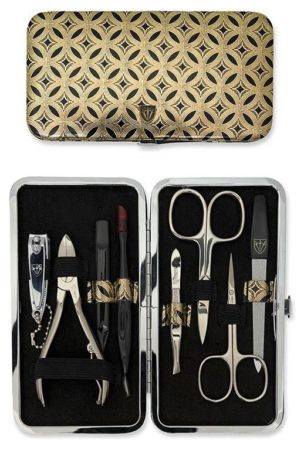
If you don’t have an at-home nail kit with all the tools including nail files, clippers and cuticle sticks, it’s a good idea to invest in one, along with your gel nails kit. We like the Kellermann 3 Swords Manicure Set, R269.

ALSO SEE: Your 10 essential nail care tips
Step 3
Next, use a cleanser to clean each nail. Buffing and dehydrating the top surface of the nail is an important step to ensure a long-lasting gel manicure.
Step 4
Apply the pH Bond nail prep and let it dry for 30 seconds or according to instructions.
Step 5
Then apply your foundation coat to each nail making sure to cap the free edge. (Cure for 1 minute under the UV light).
Step 6
Now paint. Apply a thin layer of your chosen gel polish to your nails. Take your time! (Cure for 2 minutes after you’ve painted each nail). If you want a deeper colour, apply a second coat and cure again for another 2 minutes.
Step 7
When you’re done with the polish, finish off with a thin coat of the Top It Off Sealer Gel. (Cure for 2 minutes).
ALSO SEE: How to remove gel nails at home
Top tip:
If you’re short on time and want to speed up your gel mani process even more, opt for a quick drying lamp with UV and LED light, like the Nordik Beauty Professional Portable Gel Nail Dryer UV & LED Lamp, R695.

How to keep your nails healthy
Best advice? Get into the habit of seeing your own natural nails for 2 weeks in between your gel nails. This will give them the chance to air.
Wear non-UV gel-effect polish, and layer up with top coats with real staying power. Apply your gel top coat in natural daylight to help harden the finish so you get longer wear.

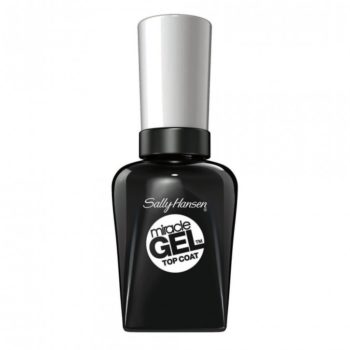
Sally Hansen Miracle Gel Top Coat, R129,95

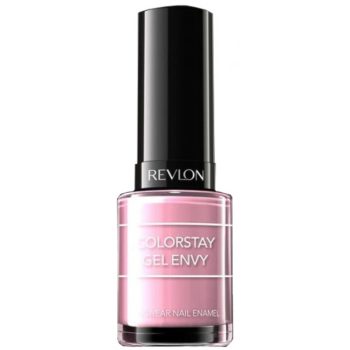
Revlon ColorStay Gel Envy Longwear Nail Enamel, R135

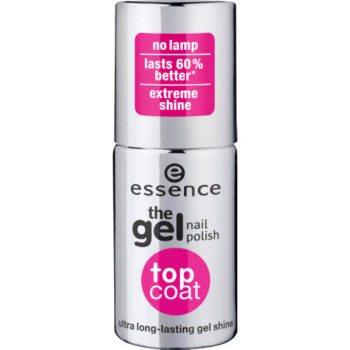
Essence The Gel Nail Polish Top Coat, R54,95
By Freelance Writer, Tammy Jacks

