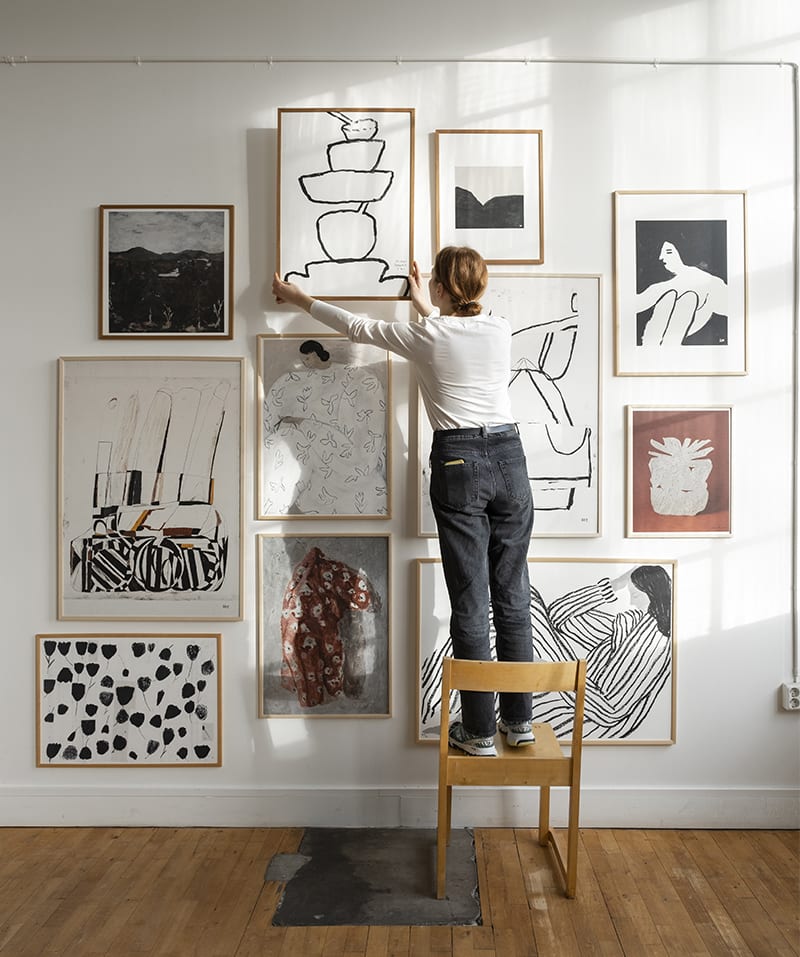
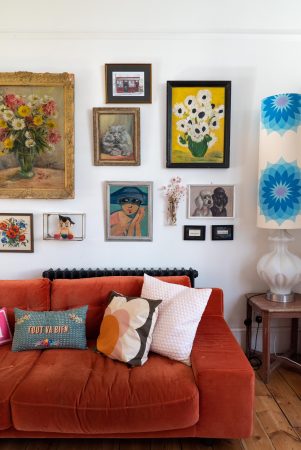
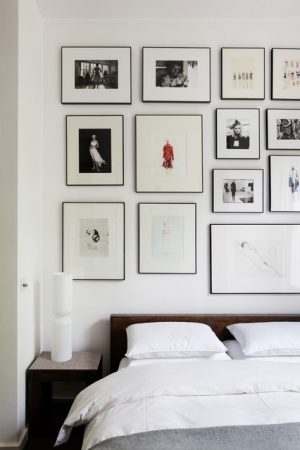
There are so many options when it comes to laying out a gallery wall which can actually be anything but inspiring. What layout do you choose? And frames? Do they match, don’t they? Do you stay within a colour palette with your art, or do you mix media? Well, it helps to know what you’re drawn to. Renowned interior designer Kelly Wearstler suggested in her MasterClass tutorial ‘Go into your closet, what you look good in, in terms of fashion, you’re going to feel good in. … If you have a closet with many different colours, maybe take a few articles of clothing and actually put them in a room, drape them over a chair and see how it feels in there.’ This really stuck with me as a person who is attracted to both the neutrals and the eccentric prints and colours.
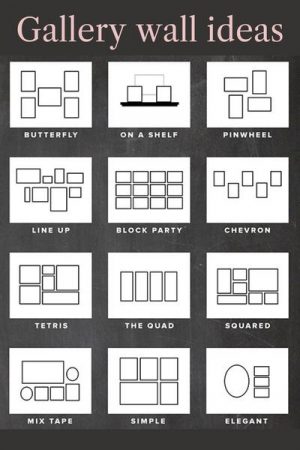
So, what are the layout options?
Ooh, so many! It’s best to start with your biggest piece of art, or a centre line or point. If you’re going for a more structured grid or linear design, a centre point and line will set you up for success (don’t forget to keep a spirit level nearby). An eclectic style will be easier to start with your largest or boldest artwork as the focal point. If you’re renting and cannot drill into the walls, leaning layered art on a shelf above the bed or on top of an entryway console still counts as a gallery wall.
The spacing dilemma
A while back I discovered a game-changing way to ensure the spacing between artworks is right – it’s so incredibly simple, I’m still kicking myself for not thinking of it earlier. You’ll need a lot of brown paper or newspaper. Lay each artwork down on the paper and trace around it. Cut each out, and now you have easy-to-manage samples of your art. You can tape each cut-out onto the wall moving them around until you are happy with the placement and spacing. While the cut-outs are still up, measure where each nail needs to go and hammer them in through the paper. Then, when you take the paper down off the wall, your nails are neatly in place and you can go ahead and hang up your gallery wall.
Choosing framing styles and sizes
For a mix and matching of framing styles, I keep a fabric measuring tape and a list of my artworks’ dimensions in my bag, so when I’m at thrift shops I can easily measure frames I like to see if they will fit a frameless piece I have at home. Having dimensions on hand is, well, handy when shopping online as well. Standard sizes (A5 – A0) can be found at homeware stores such as Mr Price Home or Country Road. Standard doesn’t mean boring, as many local homeware stores have modern framing options in various sizes. Don’t be afraid to also play with proportions within the frame. Placing a small artwork in a much larger frame can be interesting and practical too, allowing a small piece to fit into a big space.
Standard sizes to keep in mind
A6: 105 x 148 mm
A5: 148 x 210 mm
A4: 210 x 297 mm
A3: 297 x 420 mm
A2: 420 x 594 mm
A1: 594 x 841 mm
A0: 841 x 1189 mm


