Nothing attracts the eye more than having curves in all the right places, especially when it comes to using paint to create an architectural interest in a space. Gone are the days of using the accent wall to create a focal point because the painted arch has really taken shape in recent years, and for good reason!
The illusion artist
A painted arch is extremely versatile – you can use it to give the illusion of higher ceilings, create dramatic entry ways or use it to frame a unique piece of furniture. It’s also a really great way to experiment with pops of colour if you are not ready to commit to a full wall yet. With only a little bit of paint, it is the easiest way to make-over a room.
ALSO SEE: Subtle sophistication: embracing ‘quiet luxury’ in interior design
Arch away
Speaking of easy, incorporating this feature is not as difficult as you might think. Here is what you should do to achieve that perfect arch and avoid any unexpected curve balls:
Firstly, avoid the temptation to free-hand the arch. While you might be confident in your steady hand, this technique does take some level of precision and basic geometry. So, start off by figuring out where you would like your arch to be and how big you want it to be too. Then, using a pencil and a straight edge, mark out where the sides of your arch will be and use tape to create a template, which will ensure a crisp, neat line.
To create the arch, tap a nail in the centre of the section where you want to draw your half circle. Tie a piece of string around the nail and with a pencil, start at the top of the arch and use the string like a compass to trace the curve on to the wall. The length of the string will determine how wide your arch will be.
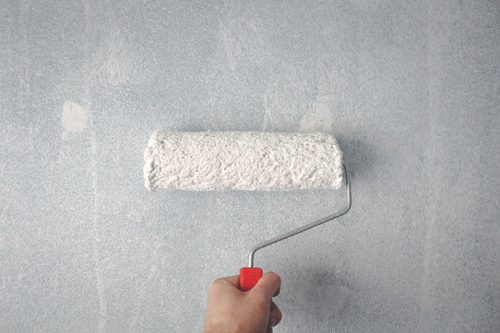
Before picking up a brush, step back and assess. If you are satisfied, use an angled brush to cut in the edges of the curve, just like you would with a trim. From there, fill in the rest of the arch with a roller brush and do touch- ups if necessary.
ALSO SEE:
Feature Image: Pexels

